
Dispersion effect

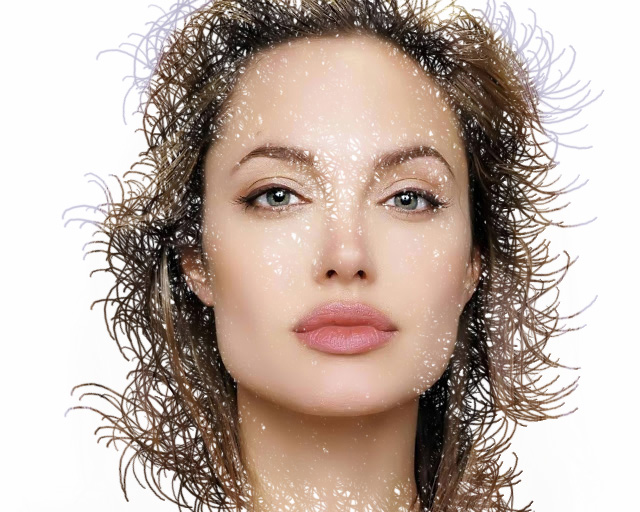
First open the image on which you want to create effect .


Now remove the background of the image . Here we have the same color in background so we can easily remove it by magic wand tool .


Select layer 0 . Here we will apply layer mask .For this go to LAYER -> LAYER MASK -> REVEAL ALL
 Now press B for brush .Select the brush with which you want to create an effect . Here i have created a square brush and using it here to show the desired effect . Select black as foreground color . Now press F5 for brush setting and tick on shape dynamics and scattering . This will give a nice effect.


Now click on layer 0 copy . Select half of the image with selection tool and press CTRL T . and expand the image and press enter .

 Then go to LAYER -> LAYER MASK -> HIDE ALL.

Now select brush and click layer 0 mask . Click on the area as shown in image .
Create a new layer and drag it below the layer 0 .Fill the color of your choice here I have chosen grey color .

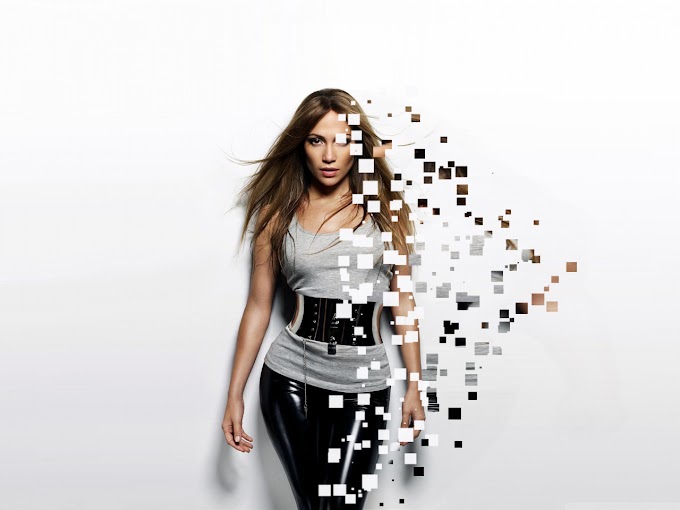
Your dispersion effect is ready .. ;)


First open the image on which you want to create effect .

Then double click on the background layer . Now we can edit this layer .


Now create a copy of this layer by pressing CTRL + J


Now click on mask and click on the area on which you want to show dispersion effect .


Create a new layer and drag it below the layer 0 .Fill the color of your choice here I have chosen grey color .


Thanks for following tutorial .. :)
0 Comments